Adding A did:web to A Self-Hosted PLC

I was at friend's bachelor party last night so this is going to be a short one. A kind stranger sent me this tool for setting up did:web on a self-hosted PDS after I finished creating mine yesterday. This type of thing is a simultaneously fun and annoying thing about atproto right now: the ecosystem is being build piecemeal and by a wide variety of people with varying degrees of attachment to the actual org behind it, so there's not a create-react-app type starter kit for a lot of things yet. I think this is my first time seeing something like this happen on the ground since I was doing ML in the browser stuff in grad school, and it's a very exciting time to get in on the ground floor, but also results in a lot of reinventing the wheel and a lot of useful tools getting lost in the shuffle unless some nice stranger online helps you out.
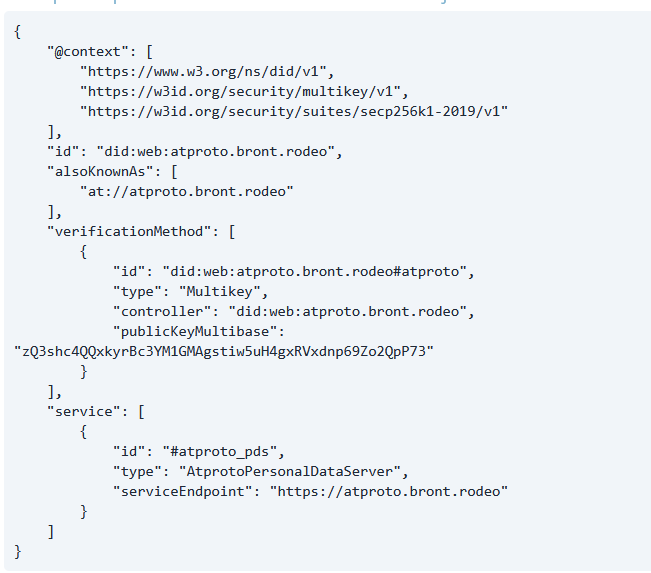
Anyway! This tool is great for my purposes. Since yesterday I was following a general did:web tutorial it would appear that the did.json doc didn't follow the exact structure expected by a PDS. I entered my private key in the did generator tool and got this output:
{
	"@context": [
		"https://www.w3.org/ns/did/v1",
		"https://w3id.org/security/multikey/v1",
		"https://w3id.org/security/suites/secp256k1-2019/v1"
	],
	"id": "did:web:atproto.bront.rodeo",
	"alsoKnownAs": [
		"at://atproto.bront.rodeo"
	],
	"verificationMethod": [
		{
			"id": "did:web:atproto.bront.rodeo#atproto",
			"type": "Multikey",
			"controller": "did:web:atproto.bront.rodeo",
			"publicKeyMultibase": "zQ3shgFoQKbzpERe7AEheKo51wvG3NksCwGUpEbwnCiS3qnQ7"
		}
	],
	"service": [
		{
			"id": "#atproto_pds",
			"type": "AtprotoPersonalDataServer",
			"serviceEndpoint": "https://atproto.bront.rodeo"
		}
	]
}
I ended up having to run it locally and skip the DID file validation because of a CORS error with my server, but was able to get past that easily. Since I want to use atproto.bront.rodeo as my handle, I had to add this DNS record to my hosting:

And generate an invite code on my server using pdsadmin:
sudo pdsadmin create-invite-code
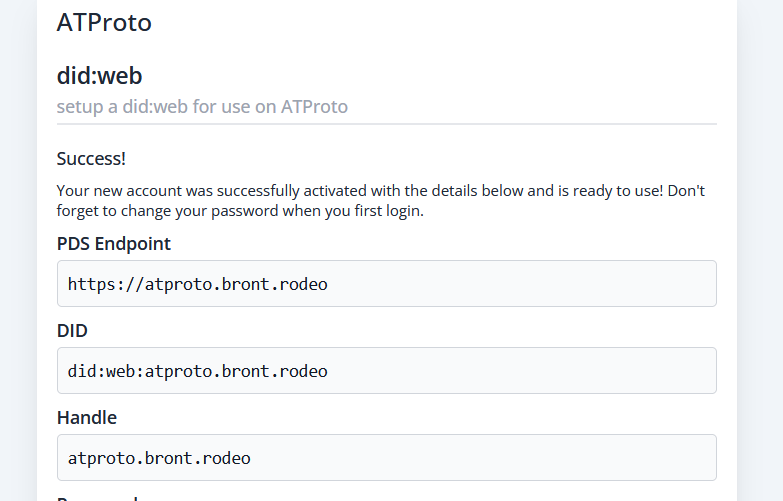
I entered all this info in the tool, and it generated me a new did.json file (note: once again, I had to skip the did validation step because of CORS issues - just add setStep(step() + 1) to the catch block in validateUpdatedDidFile())
Which I updated again on my server at /pds/caddy/etc/caddy/did.json, and restarted my server with docker compose up -d.
After updating the did.json file, I succesfully created an account in my PDS with that did:
Which I tested by logging in (succesfully) to bluesky!
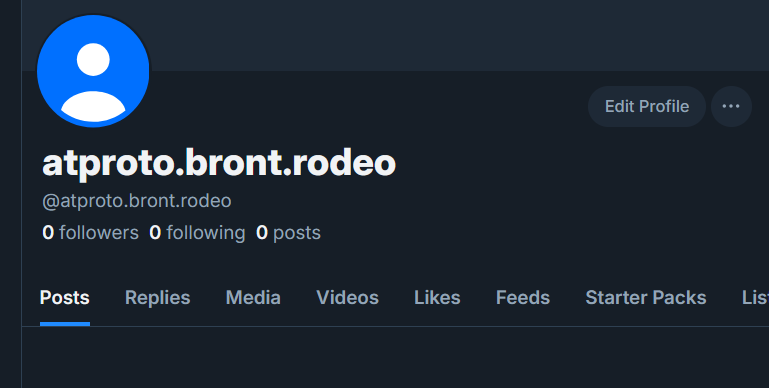
Now we're cooking with gas! I think tomorrow I'd like to rewrite this app as a command line tool so it's a bit easier to customize as needed, but for now I'm gonna go drink some gatorade and take a nap.