Energy Challenge 1: Energy Spinner

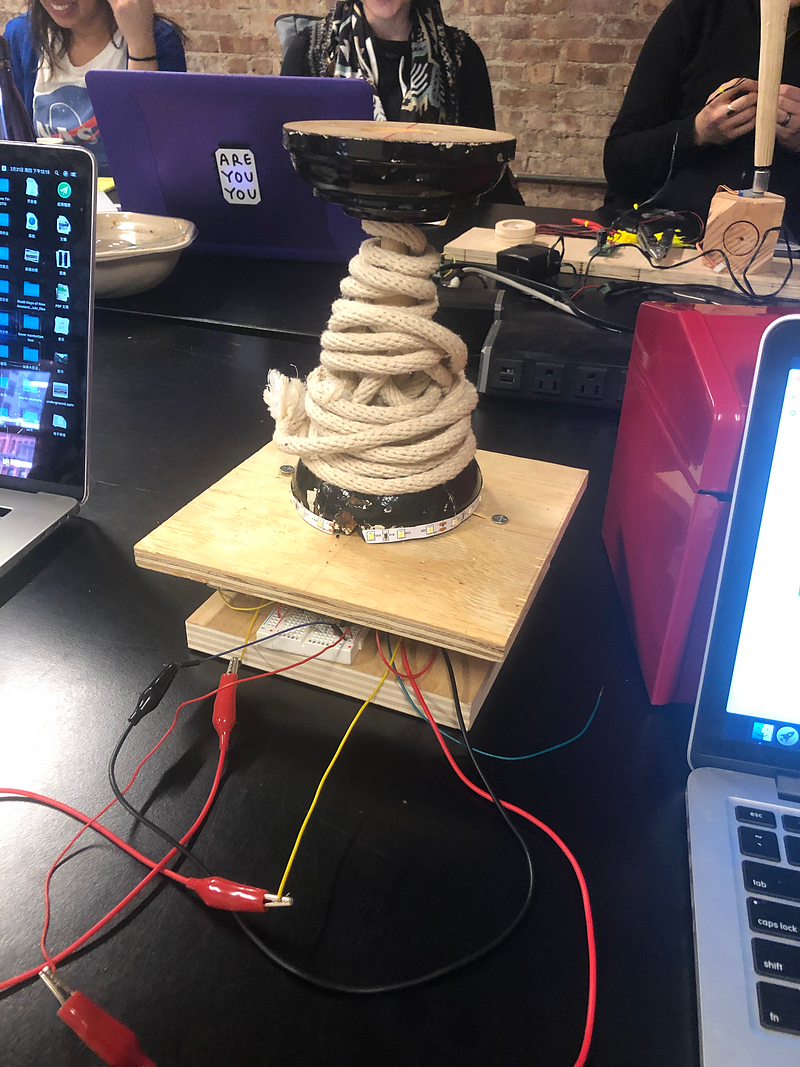
The final project in action.
For our first energy project, YuanYuan and I were inspired by a classic chinese toy: a rope-powered top. We decided to basically make an energy-producing pulley with a similar design.
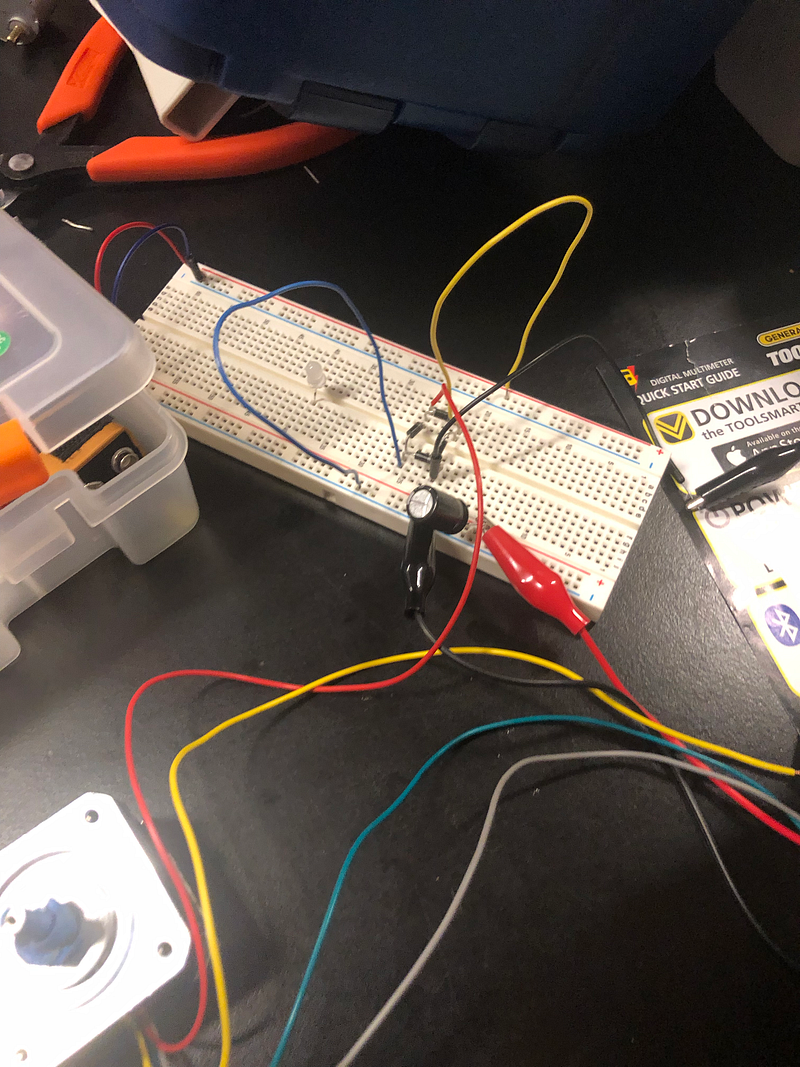
We started with a DC motor and some capacitors, and after a great deal of difficulty getting our capacitor and rectifier situation figured out, we had a circuit which charged capacitors from DC motor rotation.
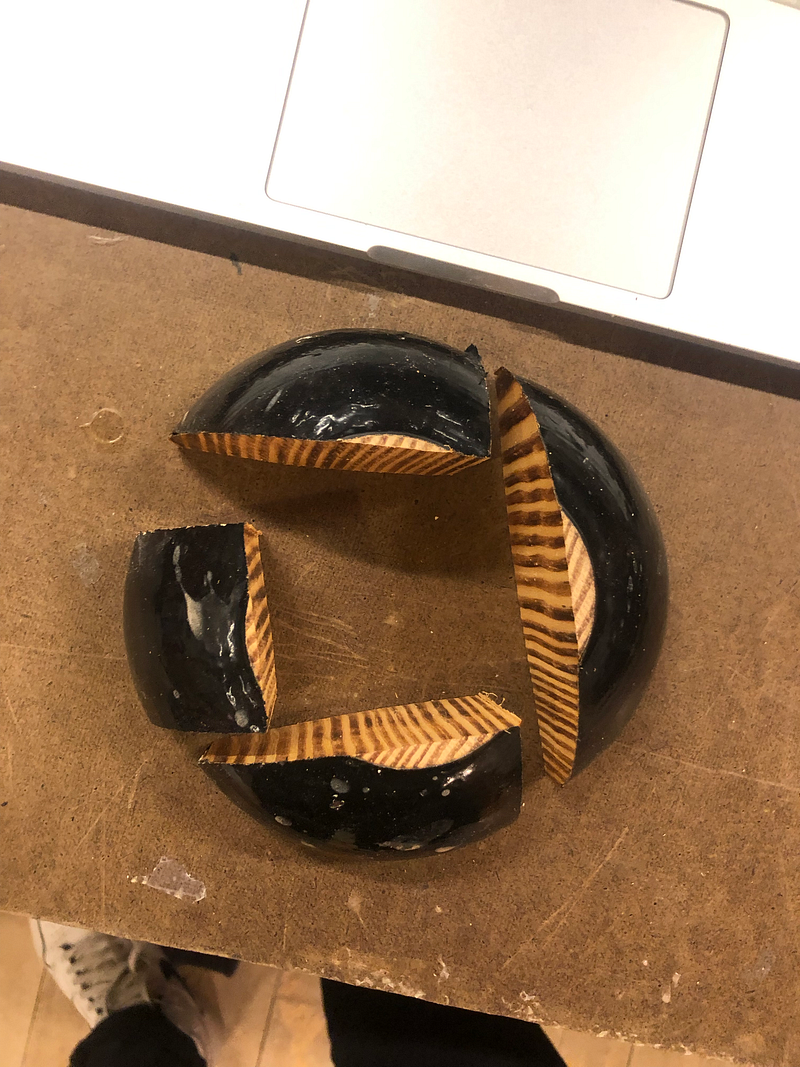
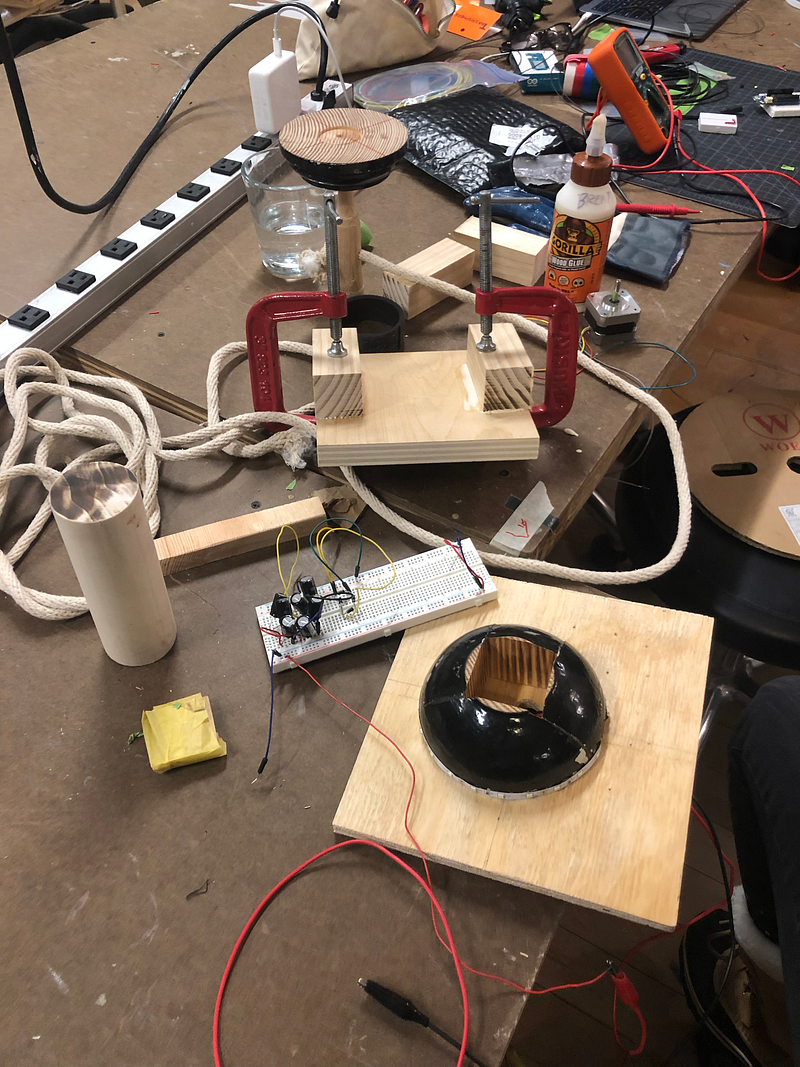
Now that we had this part figured out, we had to assemble the project itself. YuanYuan had the top parts we needed from a prior project, but we had to assemble them and attach them to the DC motor. I used the miter saw to cut the parts and create a space for the motor.
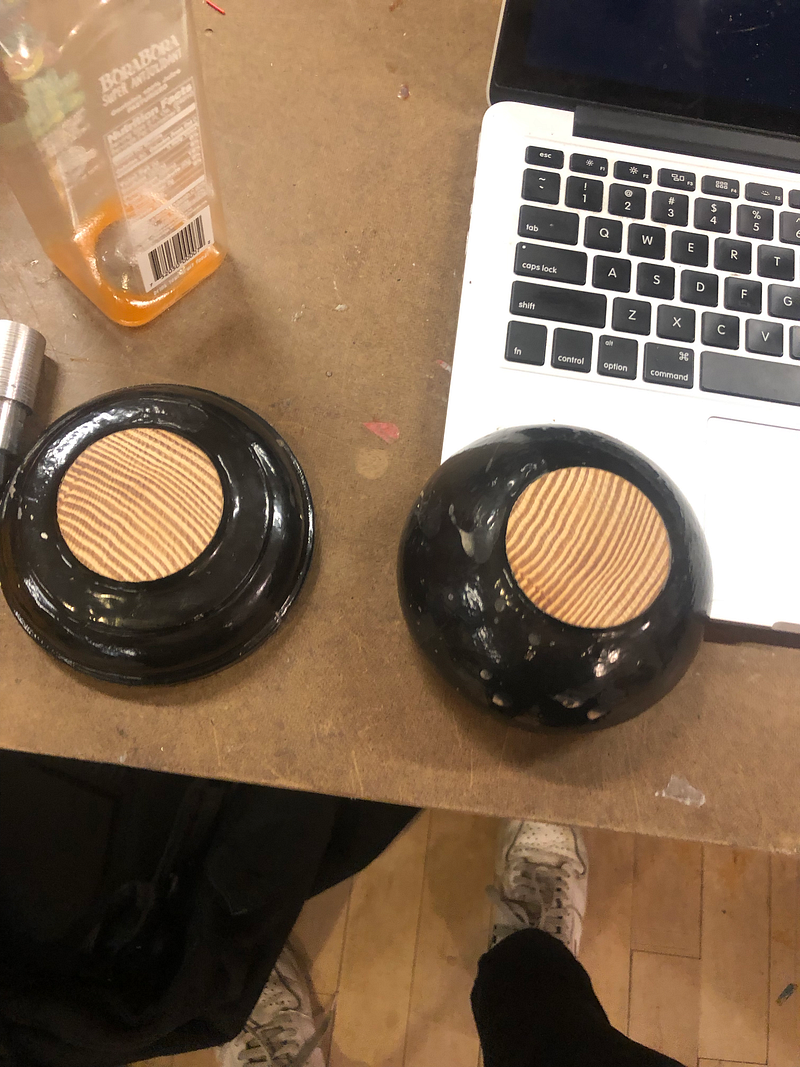
After gluing and assembling the base and top, YuanYuan 3-D printed a turning shaft for our rope. I assembled all the parts, and got a working prototype. It uses a 12V DC motor, run through a bridge rectifier and 5 470 microfarad capacitors, to power a 12V LED strip.
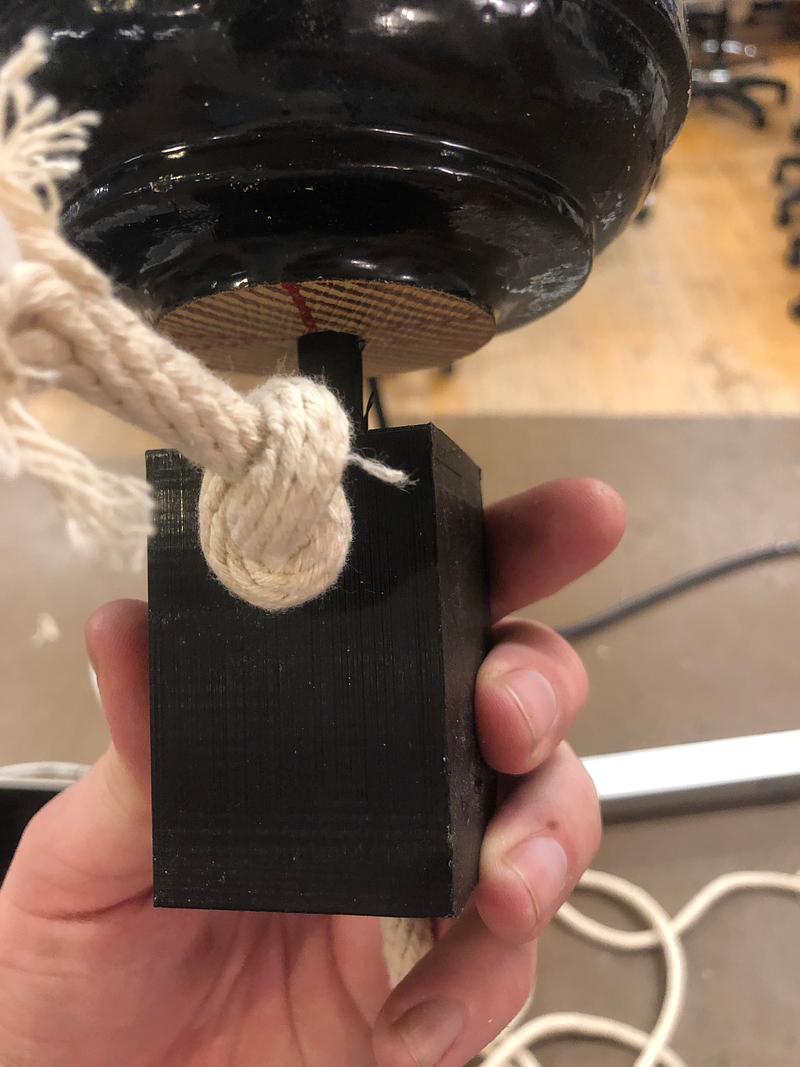
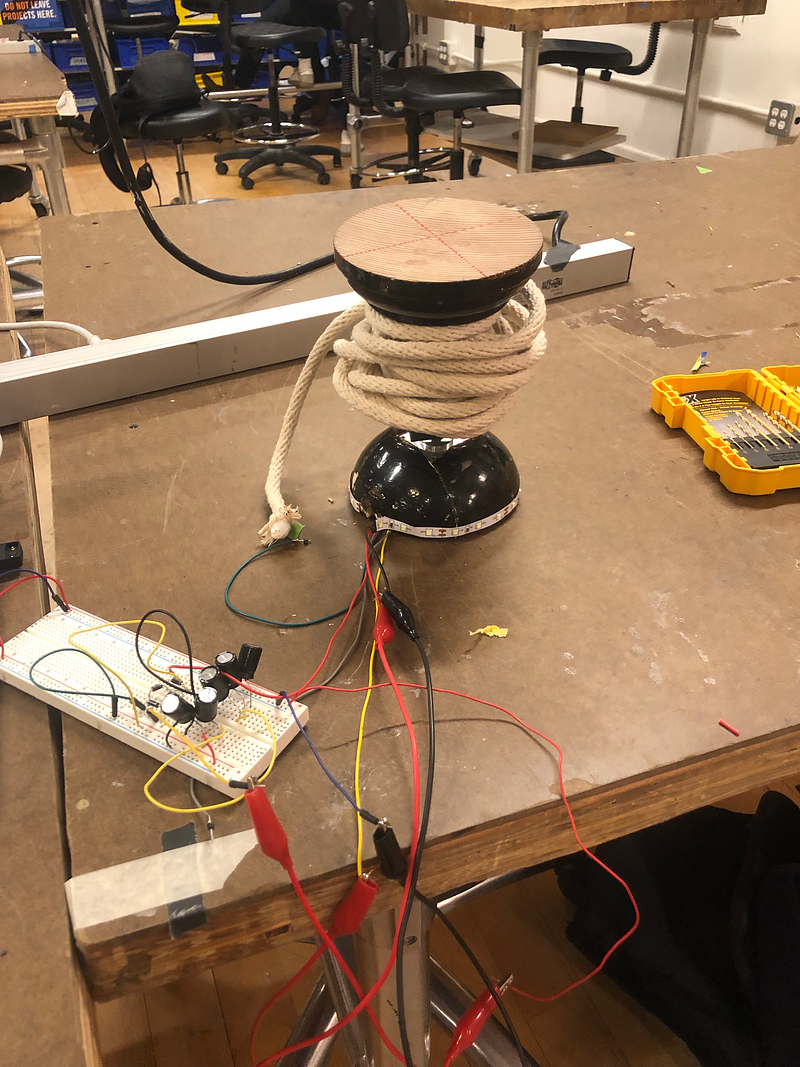
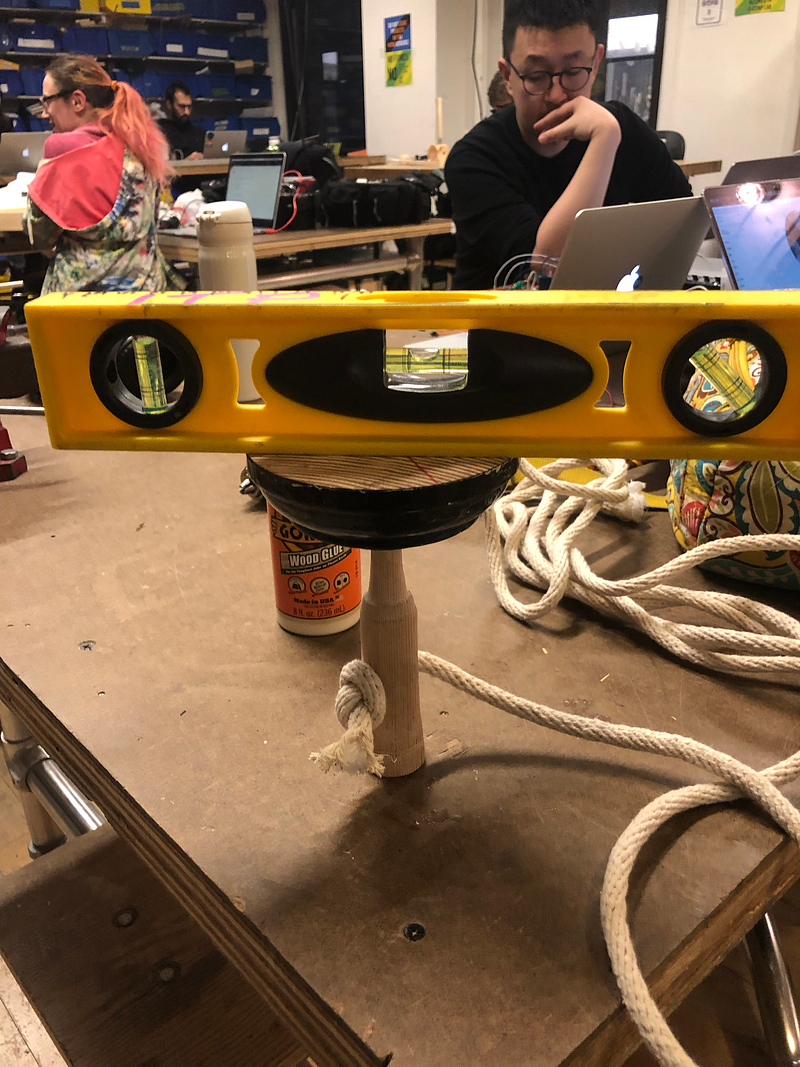
This model was fairly unstable and wonky though, so we did some refactoring. We used a cut dowel for our rotating shaft, glued everything together for increased stability, and built a platform for the base and circuit. I also decided to toy with adding more capacitors — it’s now operating with 7 470 microfarad capacitors, which produces a nice, long-lasting light after it’s activated.
We left it to dry overnight, screwed the top layer in, and got the final product you see above.