Setting Up A Plex Server With Hardware Transcoding on a Synology DS423+
For the sake of full disclosure, I started writing this guide with the intention of making a clearer version of the NASCompare setup guide, but over the course of a few days of work discovered that guide didn't work at all and ended up pretty much directly following the instructions from Dr. Frankenstein's guide, which is thorough and probably does a better job of covering all your bases than this will. I put enough effort into writing this that I figured I'd publish it anyway but if you get lost or need more info Dr. Frankenstein's site is significantly more thorough than this is.
You'll need a Plex account so you can get a Plex claim token for your server.
Folder Setup
Using the control panel, create a shared folder named data. This will be for the content plex is serving. I kept security settings minimal for testing purposes but YMMV depending on your use case.
Ensure that data checksum is enabled:
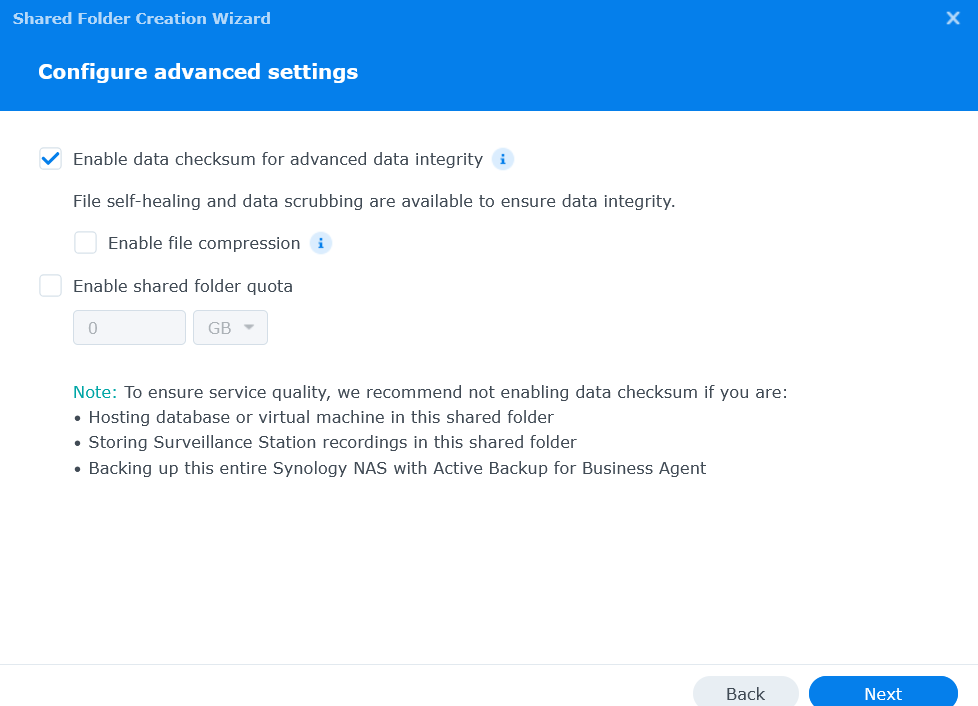
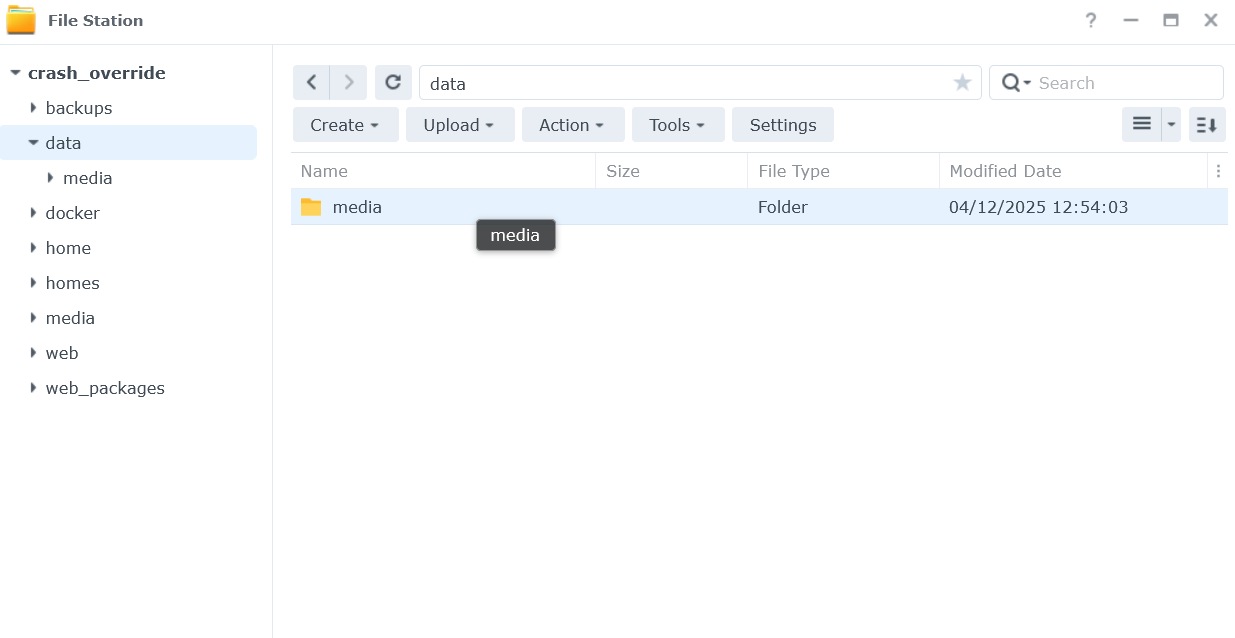
Finish setup, and now in the file manager, add a media folder to data: you can create more folders for different types of media (e.g. tv/books/movies) later on if you so wish.
User Setup
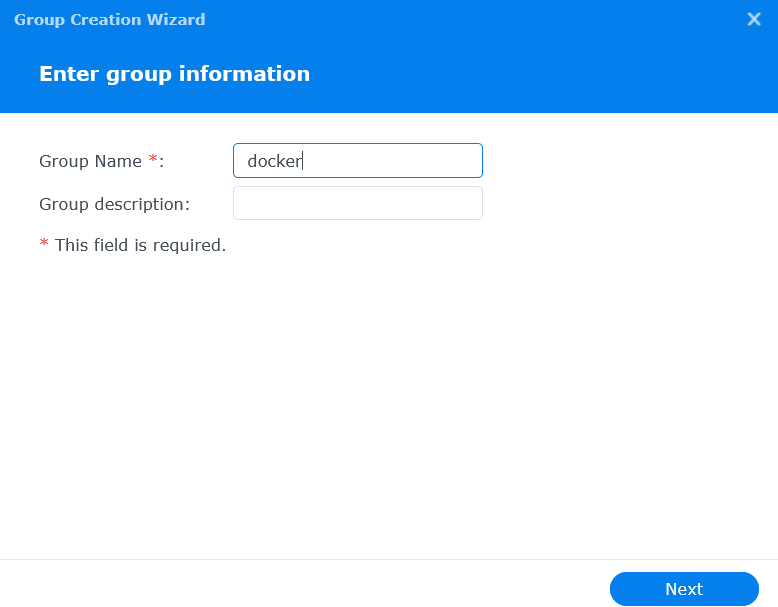
In the control panel, go to "User & Group" > Group > Create:
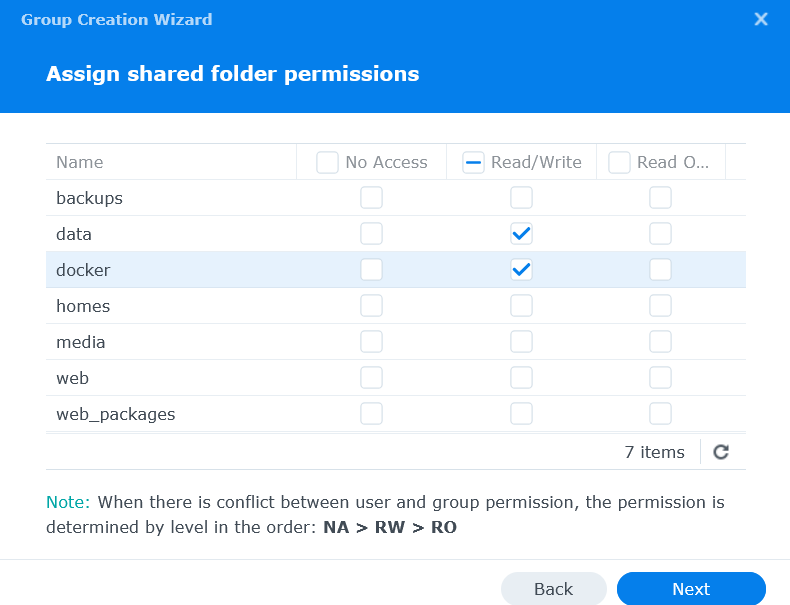
Skip adding any users, we'll create a user later on. Add read/write permissions to "data" and "docker":
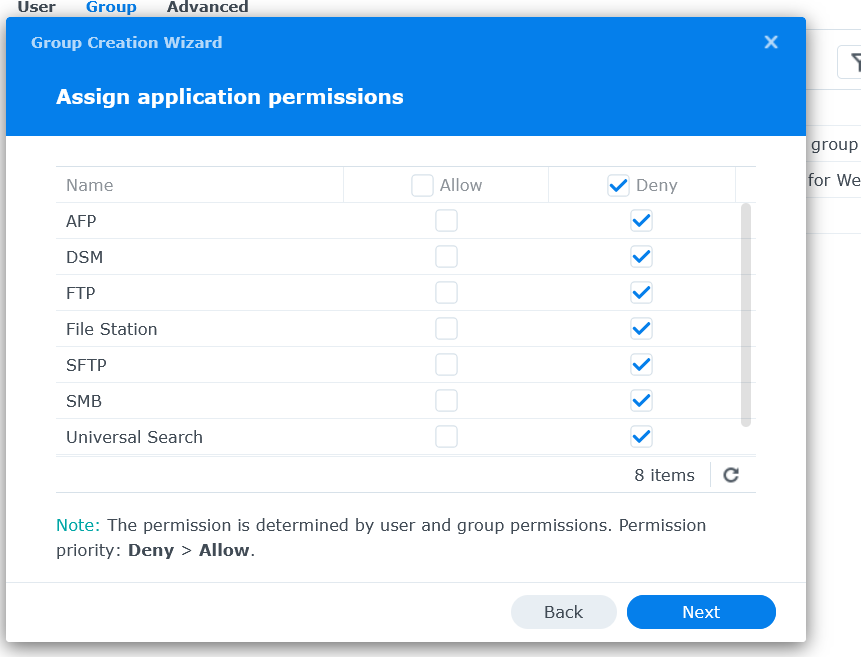
Skip group quotas, and deny all application permissions (it should not need to access any of these):
Skip speed limits, we don't need them, and then hit "Done".
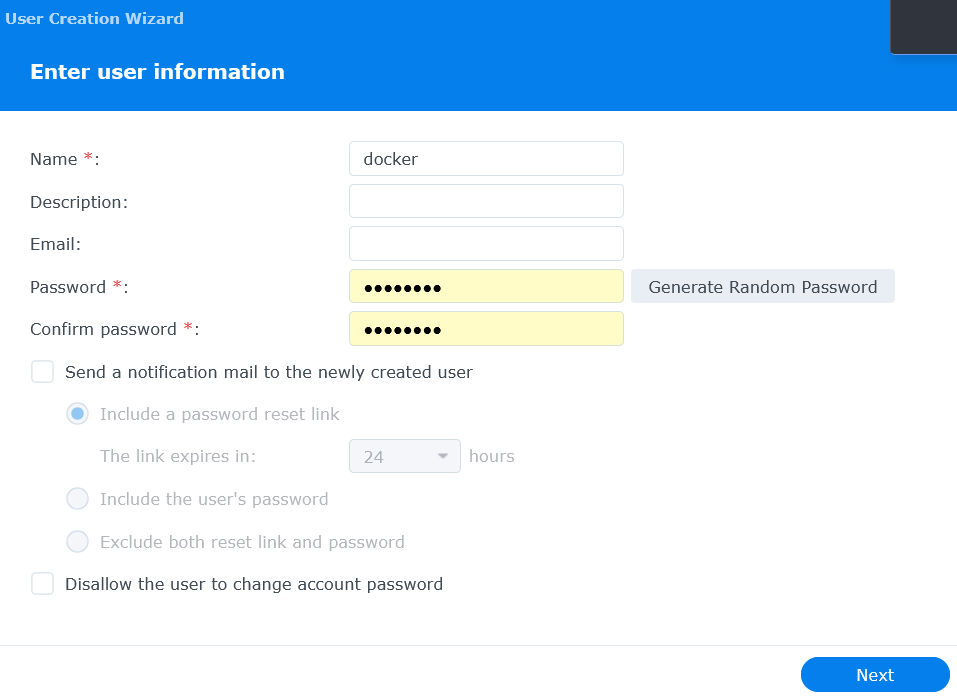
Now go to Users > Create - I'd advise generating a random password, we won't need to use it for docker processes but it makes it more secure if someone makes their way into your server.
Add this user to our "docker" group:
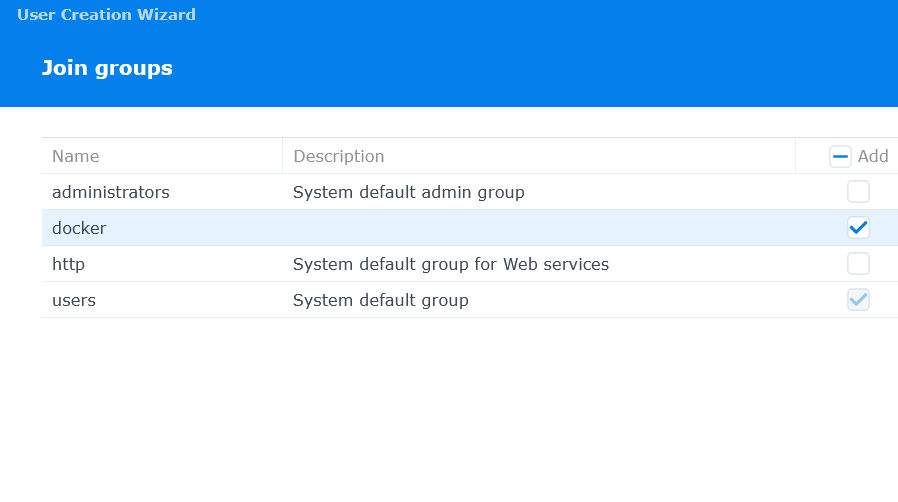
Since they're already in the "docker" group, they should already have access to the data and docker folders. You should be able to skip through the rest of the setup and create the docker user without issue.
Now, make sure SSH is enabled on your server:
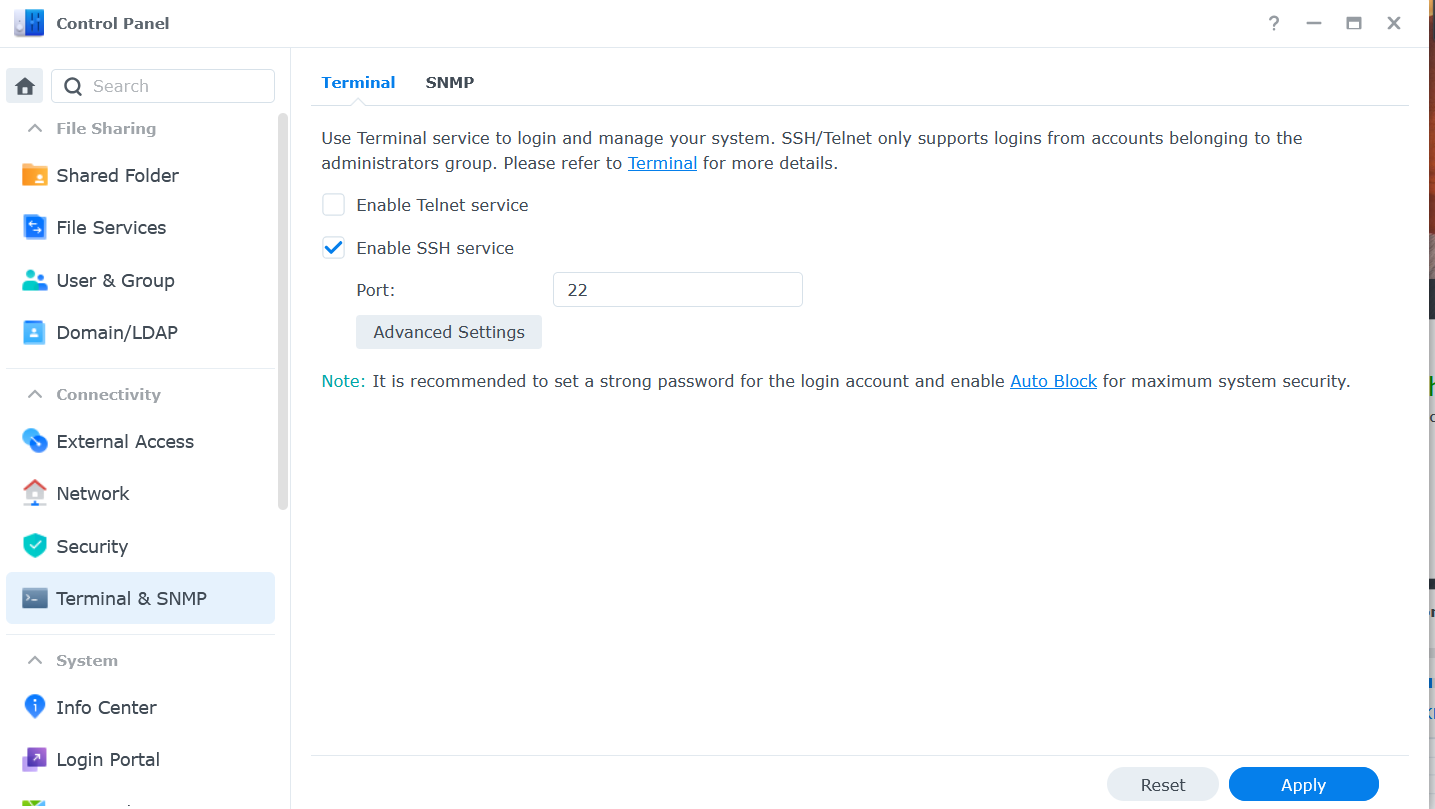
And in the terminal on your host machine enter ssh {your_synology_admin_account}@{your_ip_address} and enter your admin password. If you plan on using SSH a lot you may want to set up an SSH key for your server but that's for a different tutorial.
Enter id docker to get your docker user id - save this somewhere for later.

Container Setup
If you have a plex account, you can go to plex.tv/claim to get your claim code - it may not be necessary for setup but since I paid for a lifetime membership I went ahead and did it. The code expires after 4 minutes so you should grab it right before you enter it at the environment setup step.
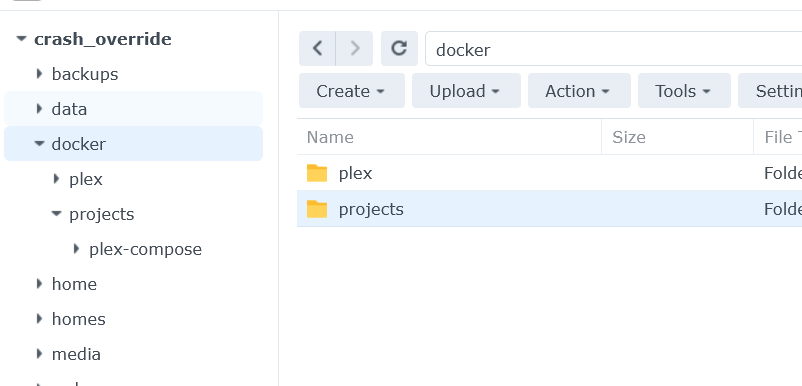
Create folders for our container to use:
In filestation create docker/projects/plex-compose and /docker/plex:
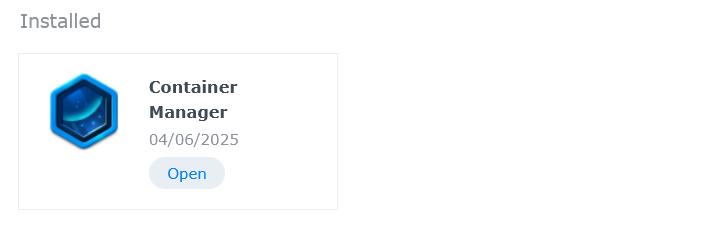
Open Package Center and install Container Manager.
Create a "Project" in container manager:
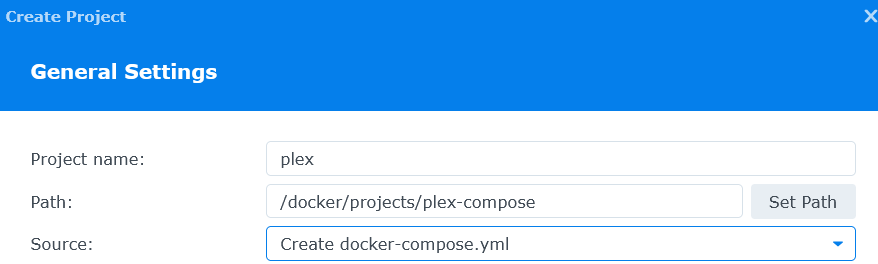
Now create a docker-compose file in the box below. Custom values:
PUID should be the user ID you got from SSH, and GUID should be the group ID from the same. TZ is your timezone, and PLEX_CLAIM is the code you got from plex.tv/claim
services:
plex:
image: linuxserver/plex:latest
container_name: plex
network_mode: host
environment:
- PUID=1027 #CHANGE_TO_YOUR_UID
- PGID=65536 #CHANGE_TO_YOUR_GID
- TZ=US/Eastern #CHANGE_TO_YOUR_TZ
- UMASK=022
- VERSION=docker
- PLEX_CLAIM= #Your Plex Claim Code
volumes:
- /volume1/docker/plex:/config
- /volume1/data/media:/data/media
devices:
- /dev/dri:/dev/dri
security_opt:
- no-new-privileges:true
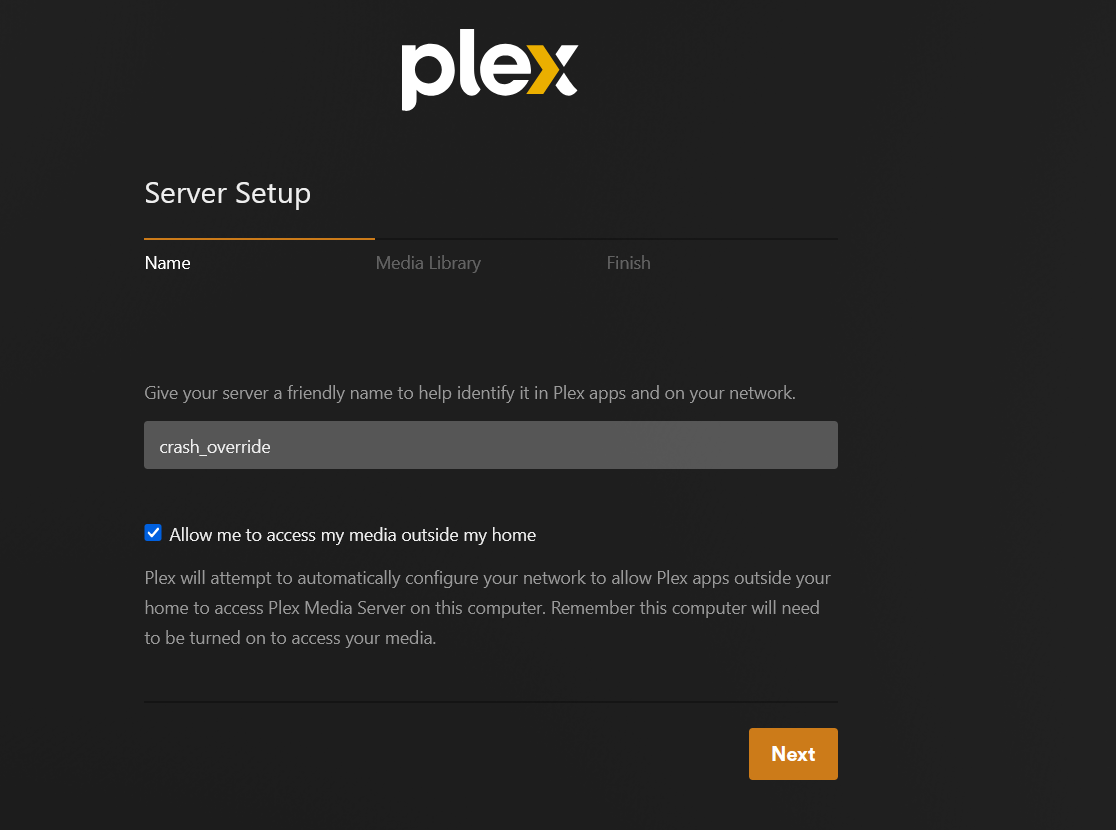
restart: alwaysSkip through the remaining steps and hit "Done." Give the container a minute or two to get set up, and you should be able to visit your plex server at {SYNOLOGY_IP_ADDRESS}:32400/web!
Sources: