Interactive Seance
By Matt Ross and Brent Bailey
For this year’s midterm project, we created an interactive seance using ml5.js and posenet, arduino, FastLED, and Tone.js. You can check out the final video above, and our codebase at https://github.com/mross1080/InteractiveSeance. But getting here was a pretty complicated process.
Humble Beginnings
Our ideation process took us a while. We had decided on a few shared goals:
- An installation that involves multiple people
- Feedback driven by hand/body tracking
- Multiple forms of sensory feedback
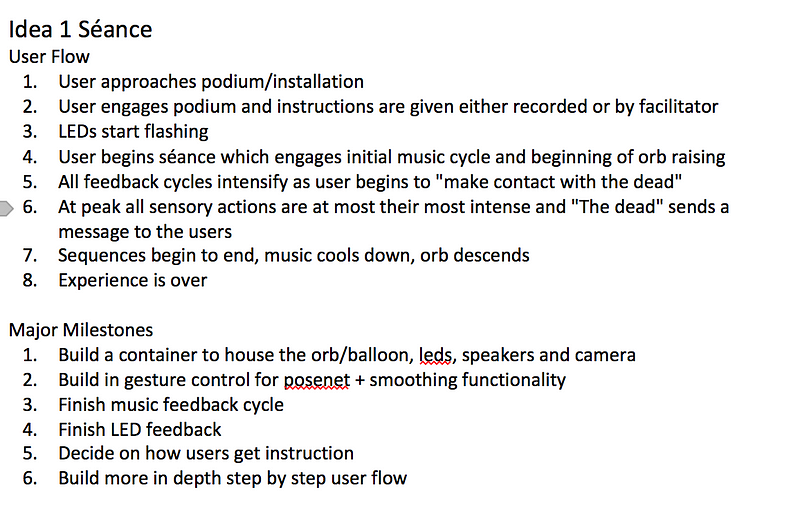
From there, we formulated a few ideas in no particular order, documented with ideal user flow here:
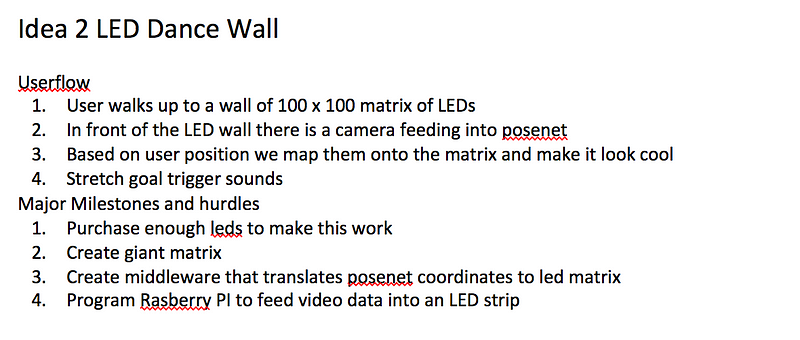
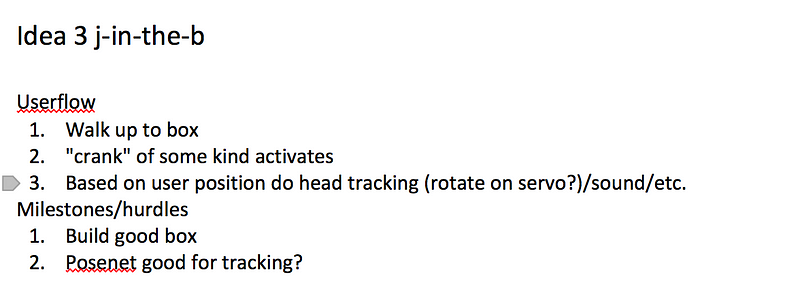
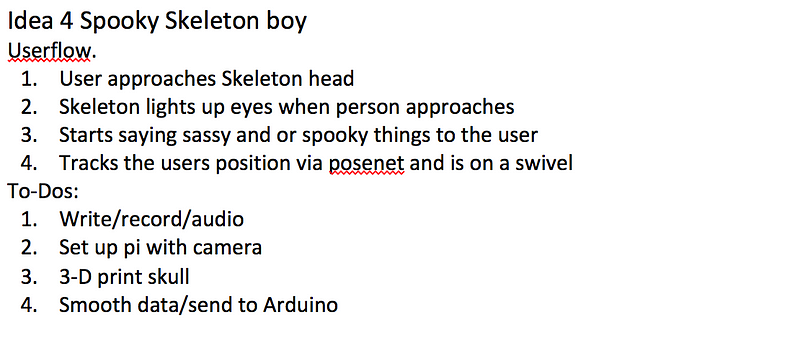
Starting the work, narrowing down ideas
Through this ideation process, we identified a few shared needs and ways to divide labor, and got to work on them while we tried to decide on a final goal.
- A posenet html site that can detect user, and stably track them across a plane (Matt for starters)
- Sonic feedback made with Ableton and Tone.js (pretty much all Matt throughout)
- Serial communication to a servo and LED strip from the posenet site using p5. (Brent for starters)
- Construction (shared effort)
Extra credit goes to Matt during this process, who put in a ton of time on setting up a proof of concept while Brent was sick with the flu.
Using p5, he set up a basic html site that tracked arm motion and sent signals to a servo attached to a balloon and an LED strip, which are documented here -

(pictured: agonizing)
After this process, and a lot of agonizing over what to do — we felt that the seance might be too difficult to achieve in such a short amount of time, but were dissatisfied with our other ideas — we decided to follow our hearts and pursue our initial idea of making a seance, feasibility be damned.
Building a Prototype
With our end goal established, we got to work in earnest. The cycle we settled on for our prototype was three stages:
- Initialize by raising your arms, start initial music feedback loop and calm LED lights. Begin raising “spirit servo”
- Keep raising arms. LED lights and music intensify. Servo raises further.
- At peak, LED lights reach crescendo and music switches over to a spooky spoken track. Servo reaches peak, lifting diffuser fabric at top of enclosure, and jitters.
We already had some pieces in place from the initial work, but we spent a little time solidifying them. This mostly involved a lot of testing with serial communication to the LEDs and servo:
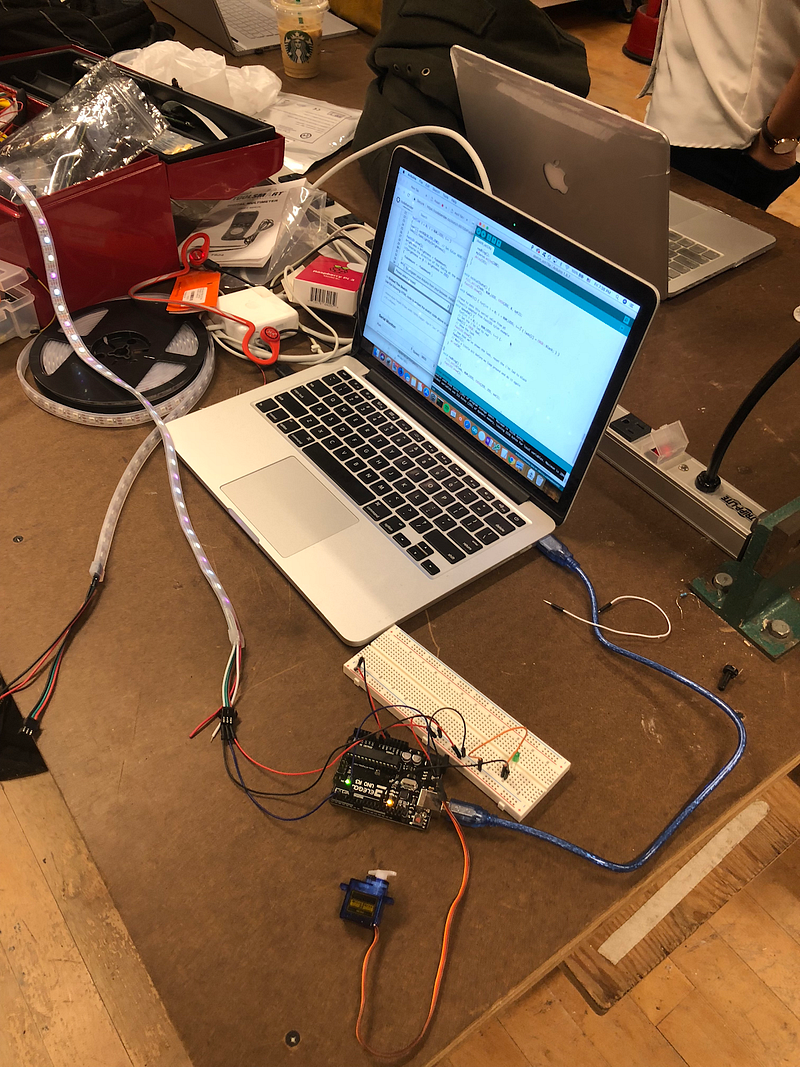
Led and servo testing.
After this, we started building an enclosure. Our initial thought had been to create a full-size table, but it quickly became clear that this wasn’t feasible, so instead we opted to make a smaller box with satanic symbols etched on a circular top. This was a fun opportunity to acquaint ourselves with the tools in the shop and the laser cutter: we put the symbols into illustrator and got to work cutting, etching, etc.
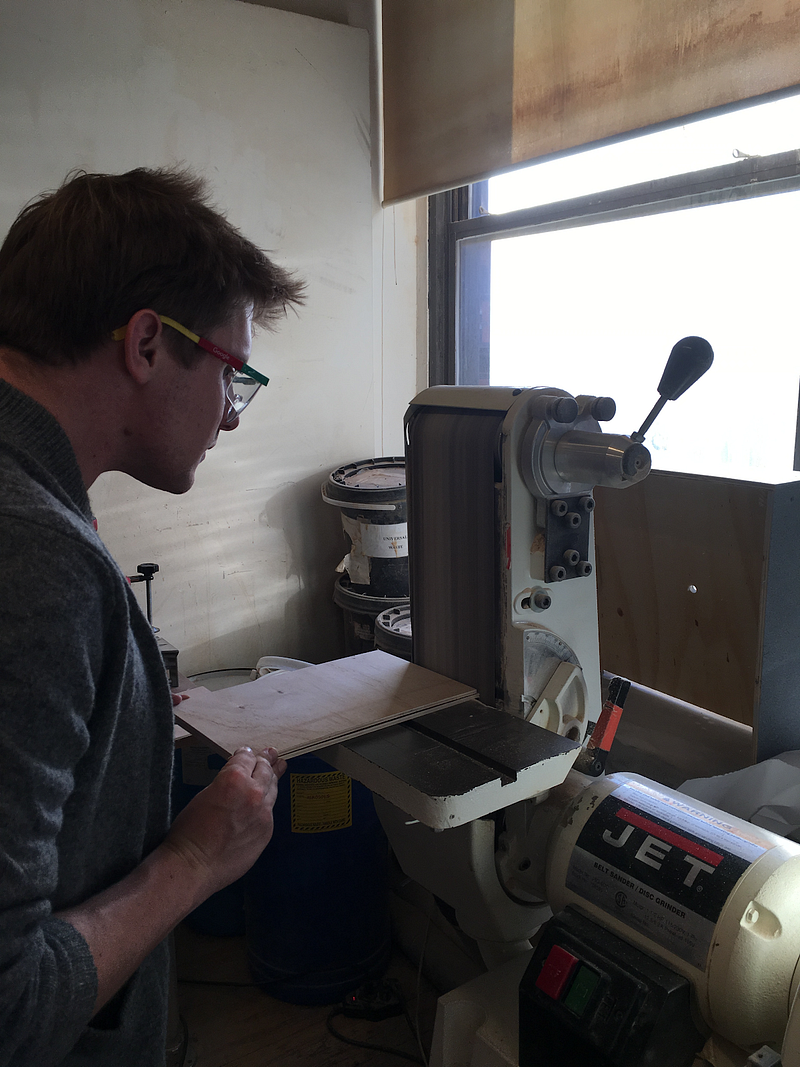
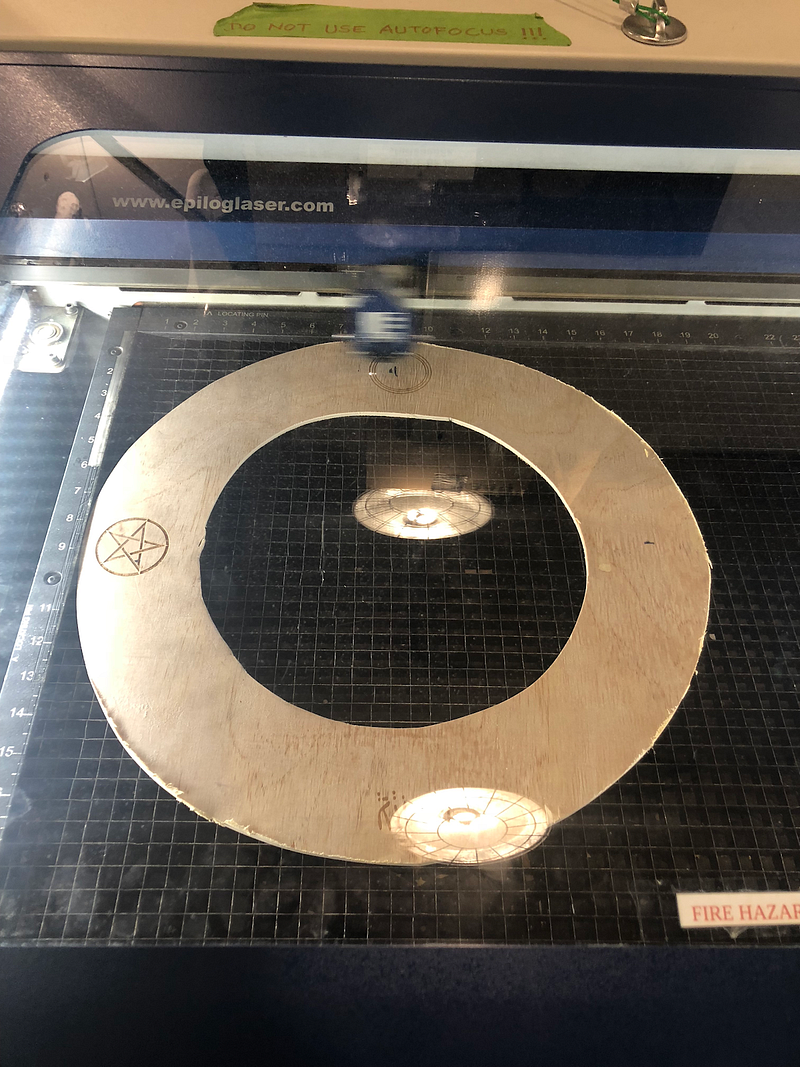
After an inordinate amount of time spent constructing the box, we spent a second inordinate amount of time putting all the pieces we’d made together.
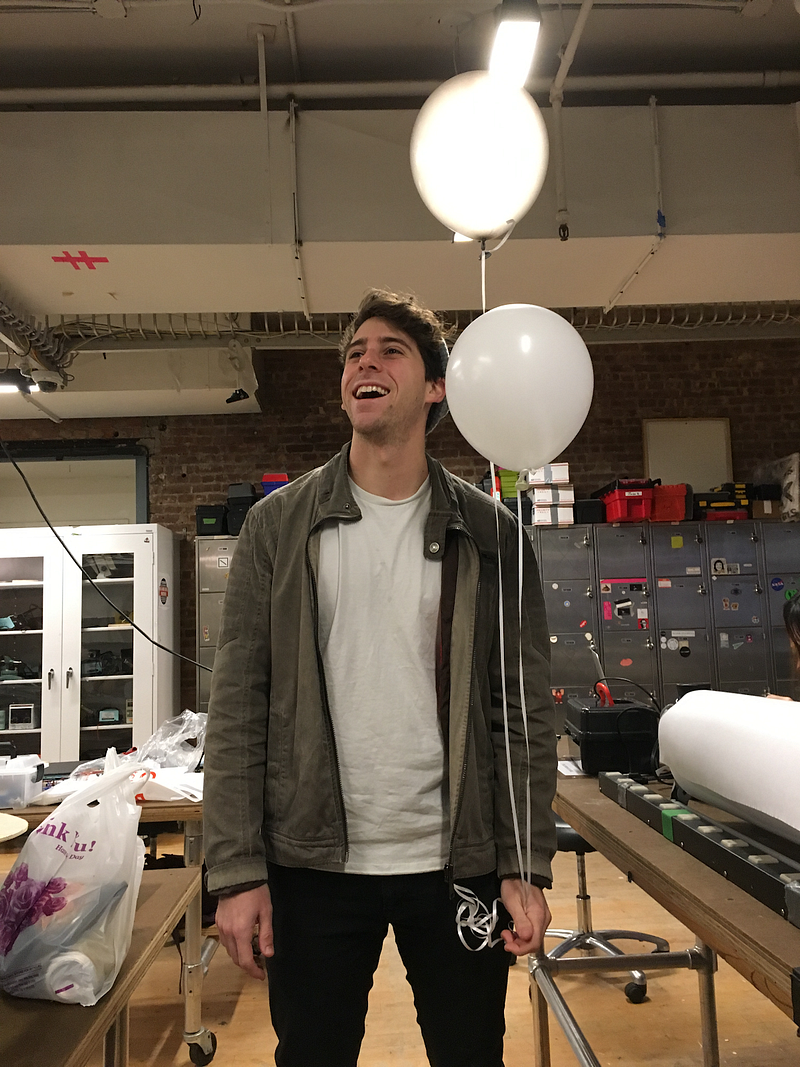
We were initially testing with a balloon, but discovered that it didn’t fit well into the enclosure (and also would have to be replaced regularly), so we ended up attaching a golf ball to the end of our servo arm, which actually worked quite well and (we discovered accidentally) allowed us to add a spooky knocking sound to the end of our cycle. We also broke about 3 standard servos before borrowing a tower servo from ITP, which did the job quite nicely.
We also realized that we needed a basic frontend on the screen to guide people through the process, since most people don’t assume that they should raise their arms when they walk up to a box, so we added some simple instructions at each step.
After a lot of debugging and assembling and reassembling, we had a functioning prototype.
Finishing Touches
Now that we had a prototype, we decided it was time to get it as close to a product as possible. It “worked”, but it was still pretty janky and buggy. We definitely didn’t get rid of all of that, but we did improve on what we had with the remaining two days we had to work.
First of all, we decided to add some complexity and robustness to the process: we needed to add a base state when no one was interacting with it, and we wanted to add a final step before the user could interact with the “spirit”. We achieved this by adding a step that tracked the X coordinate of the user’s and hand movement and prompted them to put their hands over the heart, which would awaken the spirit. We also added some more fun servo knocking and movement, and added even more LED cycles for each stage.
We also had to do a fair bit of debugging: the stage tracking was erratic, especially with Serial communication, and we spent several hours trying to figure out servo jitter — ultimately the best response we found was having the loop constantly write whatever the current servo position was supposed to be.
We also wanted the box to look spookier: this involved some more fun with things neither of us knew how to do, namely staining wood. For a first try, it turned out pretty well!
We spent our final day listening to jazz in the conference room and debugging (and debugging and debugging and debugging and debugging) to try and ensure that the installation would work every time — we were still running into occasional issues with tracking or stage timing. It still needs the occasional manual readjustment, but it’s much less finicky at this point than it was.
User Testing
After spending a bunch of time debugging, we decided to do user testing. This mostly went well, although we were still having some tracking issues at times. Our two big takeaways from this were that:
- Our instructions weren’t clear enough (people were unsure of what to do with their arms)
- Non-native English speakers were having trouble making out some of the dialogue in the final stage
- People needed some progress indicator while they were raising their arms in each stage
We added clearer instructions and a simple progress bar, and edited the sound to make it a bit clearer. That got us to a “final” product, shown in the video above.